Help Center – Contact Button Help Center – Contact Button
  • Home
  • About
  • Pricing
  • Log In
Sign Up
Help Center – Contact Button Help Center – Contact Button
Sign Up
Help Center – Contact Button Help Center – Contact Button
  • Home
  • About
  • Pricing
  • Log In
loading
  1. Home
  2. Articles
  3. App Guides
  4. App Setup Guide – Send Messages
Updated on March 6, 2025

Articles

  • Folder icon closed Folder open iconGetting Started
    • Setup Guide – Get Started in 15 Minutes or Less
    • Setup Guide – How to Create a Button
    • Setup Guide – How to Create a New App
    • Setup Guide – Creating New Workspaces
    • Setup Guide – How To Create a List or Menu
  • Folder icon closed Folder open iconApp Guides
    • App Setup Guide – Contact Forms App
    • App Setup Guide – Chat Widgets
    • App Setup Guide – Facebook Messenger
    • App Setup Guide – WhatsApp Business
    • App Setup Guide – Click-to-Call
    • App Setup Guide – Map Links
    • App Setup Guide – Website Links
    • App Setup Guide – HTML Embed
    • App Setup Guide – Business Hours
    • App Setup Guide – Social Links
    • App Setup Guide – Send Messages
    • App Setup Guide – Images & PDFs
    • App Setup Guide – Email Subscriptions
    • App Setup Guide – Reservations & Bookings
    • App Setup Guide – Lists & Menus
  • Folder icon closed Folder open iconWebsite Installation
    • Install on Cardd
    • Install on Ecwid
    • Install on Framer
    • Install on Ghost
    • Install on Google Tag Manager
    • Install with HTML
    • Install on Lightspeed
    • Install on Shopify
    • Install on Squarespace
    • Install on Wix
    • Install on Webflow
    • Install on Weebly
    • Install on WordPress
  • Folder icon closed Folder open iconIntegration Guides
    • Integrate the Tawk.to Chat Widget
    • Integrate the Crisp Chat Widget
    • Integrate the 2Chat Chat Widget
    • Integrate the Hubspot Chat Widget
  • Folder icon closed Folder open iconProduct FAQs
    • How do I remove the "⚡ by Contact Button" branding?
    • Why are my Buttons and/or Apps not displaying on my site?
    • How Do I Change Default Button & Menu Font?
    • Where do contact form responses go?
    • How do Contact Form app webhooks and callback URLs work?
    • Which countries & languages does Contact Button support?
    • Can I use the same kind of app multiple times in one button?
    • Can I have multiple buttons on same domain?
    • Do I need to have website development skills to use Contact Button?
    • How do I switch between workspaces?
    • Can I change my account email address?
    • How do I request a new password?
    • What happens when I go over a monthly plan limit?
    • Can I use a hyperlink to automatically open button menu?
  • Folder icon closed Folder open iconAccounts & Billing
    • What kind of support do you offer?
    • Accepted Payment Methods
    • Calculating Taxes
    • How Are Plan Limits Tracked?
    • How Do I Cancel My Subscription?
    • How To Find Your Billing History & Invoices
    • How Do I Upgrade My Account?
    • Is it possible to downgrade plans?
App Guides

App Setup Guide – Send Messages

Estimated reading: 2 minutes 672 views

Installation Steps


Step 1

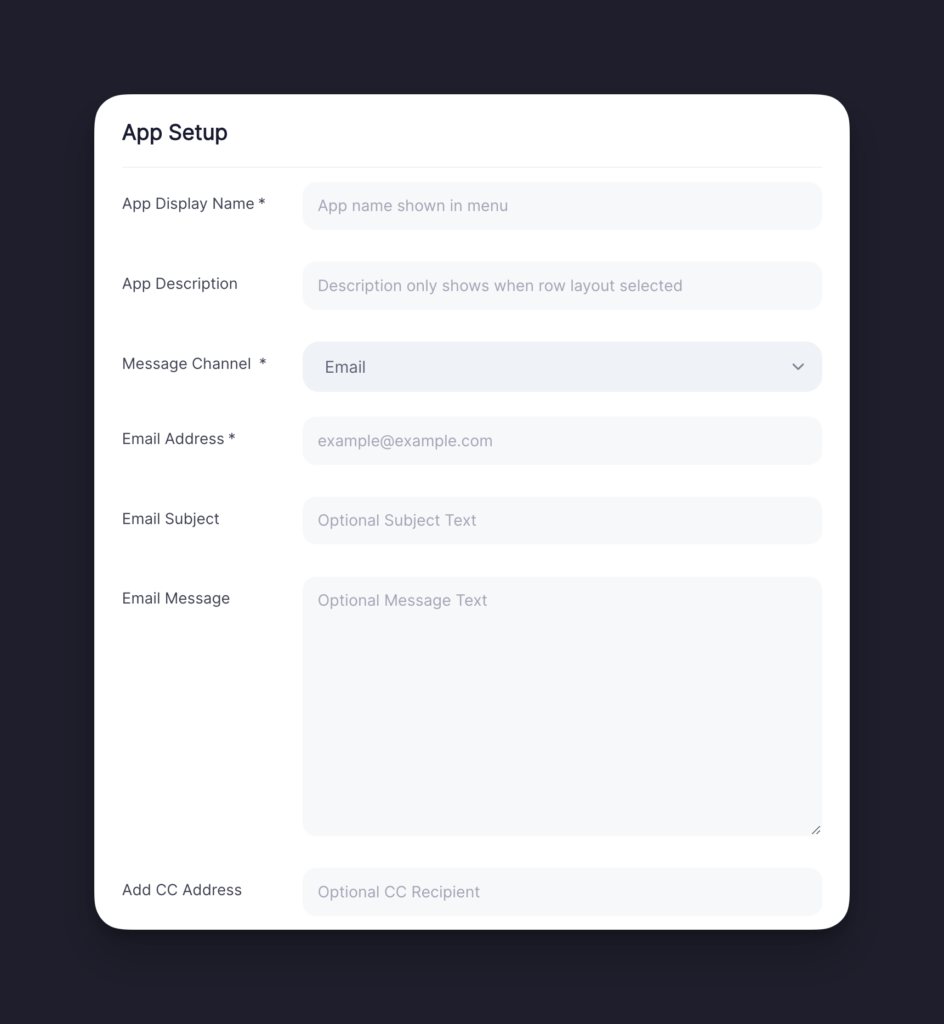
Choose a name for the app. If you have selected a Row or Column layout for your button’s menu, this name will be displayed near the app icon. 

Note: You can see how your chosen app name will look for a specific layout by clicking on the ‘Columns’, ‘Rows’ or ‘Icons Only’ tabs found in the App Icon Design window on the right side of the screen.


Step 2

Write a short description to give website visitors a little bit more information about what the app does. Please note that the description is only shown in your menu if you have chosen the Row Layout for your button.


Step 3

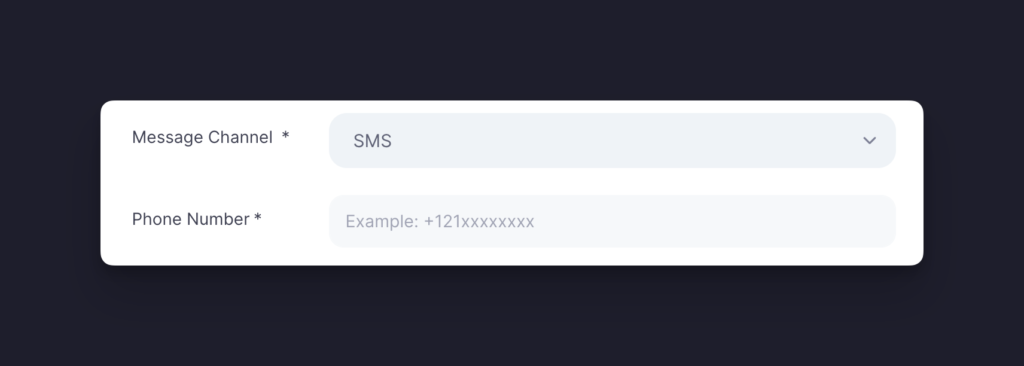
Click the Message Channel dropdown menu and choose if you would like the app to send an Email or SMS message to you.

Note: For now, this app will simply trigger the default SMS or Email sending app on a user’s device. In the future, we may allow for embedded messaging options. If you don’t want to trigger the Email app, you should consider using our Contact Form app instead.


Step 4

Once an integration option is selected, a dynamic field will appear. Please follow the directions below for each of the following.

Email 
First, enter the email address you want a user to send their message to as that is a required field. After that, if you would like to pre-populate specific fields in the draft email that is created, please do so, but keep in mind the rest of the fields are optional.

SMS
Enter your full phone number in an international format. So for US numbers, make sure to add a +1 before your number and for UK numbers, use the +44 format.


Step 5

Complete the “Icon Design” and “Display Options” sections and click Save.

Note: If this is the first app you’re setting up and it’s unclear what to do in these two sections, please visit our guide titled “How to Create and App“.

Still stuck? Click here to message us.

How can we help?

Was this page helpful? Yes 1 No

CONTENTS

Powered By EazyDocs

© 2024 All Rights Reserved by Contact Button